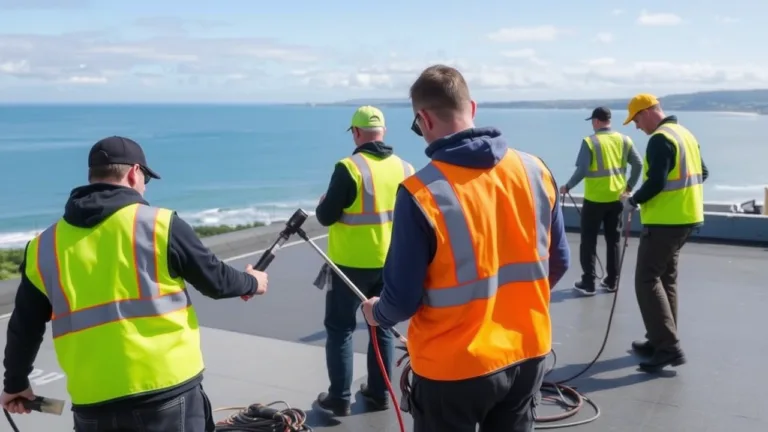
How to Apply Torch-On Waterproofing
The Complete Step-by-Step Guide
Torch-on waterproofing is a trusted solution for protecting roofs, decks, and other structures from water damage. This comprehensive guide will walk you through every step of the process, from preparation to finishing touches, ensuring you understand not just how to apply torch-on waterproofing, but also why each step matters.

What Is Torch-On Waterproofing?
Torch-on waterproofing is a system that uses a polymer-modified bitumen membrane, which is heat-fused to a primed surface using an LPG or propane torch. The result is a flexible, durable, and watertight barrier that resists tears, UV exposure, and foot traffic. This method is especially popular for flat roofs, decks, and areas where long-term waterproofing is critical.
“Torch-on bituminous membranes are an effective product for all seasons. Once applied, bituminous membranes are a thin layer of watertight material, that is fully bonded to the surface.”
Tools and Materials Needed
Torch-on membrane rolls
High-quality bitumen primer
Propane or LPG torch
Roller or brush for primer and topcoat
Utility knife and scissors
Trowel or roller for pressing overlaps
Personal protective equipment (PPE)
Step 1: Surface Preparation
Proper surface preparation is the foundation of a successful torch-on waterproofing project.
Clean the Surface Thoroughly: Remove all dust, debris, old waterproofing materials, and contaminants. Even small particles can compromise adhesion.
Repair Imperfections: Fill cracks, blow holes, and voids. The surface must be smooth, dry, and even.
Special Considerations: For gutters, tiles may need to be temporarily removed. For foundations, trenches may be required.
“Ensure that the substrate is clean, dry and free of all contaminants and correctly prepared. All dust and loose friable material must be removed. Blow holes and voids should be fully exposed then repaired.”
Step 2: Primer Application
A primer is critical for bonding the membrane to the substrate and minimising air entrapment.
Choose the Right Primer: Use a primer recommended by the membrane manufacturer.
Apply Evenly: Use a brush or roller to apply a uniform coat across the entire surface.
Allow to Dry: Drying times vary based on product and weather. Always follow the manufacturer’s instructions.
“A primer plays a vital role in ensuring strong adhesion between the surface and the torch on membrane.”
Step 3: Laying the Torch-On Membrane
This is the core step in How to Apply Torch-On Waterproofing.
Unroll and Position: Roll out the membrane onto the primed surface, aligning sheets parallel and staggering end joints by at least 1 meter to avoid weak spots.
Cut to Fit: Use a utility knife or scissors to trim the membrane for corners, edges, and penetrations.
Start at the Lowest Point: Begin installation at the lowest part of the slope or near drains to ensure water flows away from the structure.
Step 4: Heating and Bonding
Use the Torch: With a propane or LPG torch, heat the underside of the membrane and the substrate simultaneously. The bitumen backing will melt and become tacky.
Work Evenly: Move the torch in a consistent pattern to avoid overheating or burning the membrane.
Press Down: As the bitumen melts, press the membrane firmly into place with a roller or trowel to eliminate air pockets and ensure full adhesion.
“Using a propane torch, the bitumen side of the roll is heated until it becomes pliable. This enables the installer to bond it firmly to the underlying surface, ensuring a strong and secure attachment.”
Step 5: Overlapping and Sealing Joints
Overlap Sheets: Each membrane roll should overlap the previous by at least 75–100 mm on the sides and ends.
Heat and Seal Overlaps: Pay special attention to overlaps-heat them thoroughly and press down to ensure a watertight seal. Look for a trickle of melted bitumen along the seam as a sign of proper bonding.
Upturns and Flashings: Extend the membrane up walls and penetrations by at least 150 mm and install counter-flashings where needed.
Step 6: Final Top Coat
Mineral-Finished Membranes: Some membranes have a mineral surface and do not require additional UV protection.
Step 7: Inspection and Quality Assurance
Check for Defects: Inspect the entire area for air pockets, unbonded sections, or visible seams.
Correct Issues: Reheat and press any areas that have not bonded properly.
Ensure Drainage: Confirm that water can flow freely to drains or gutters.
“Taking the time to inspect and correct any flaws ensures a flawless finish.”
Maintenance and Longevity
Torch-on waterproofing systems are designed for long-term durability, often lasting 20 years or more with proper installation and maintenance. Regular inspections and prompt repairs of any damage will ensure maximum lifespan.
Why Hire a Professional?
While DIY installation is possible, torch-on waterproofing requires specialised skills and equipment. Incorrect application can lead to leaks, costly repairs, and voided warranties. Professionals ensure compliance with building codes and manufacturer specifications.
“We highly recommend that you contact a professional waterproofing company… due to the fact that this process is very complex and it should only be handled by a trained professional.”
Conclusion
Understanding How to Apply Torch-On Waterproofing is essential for anyone seeking a robust, long-lasting solution to water ingress on flat roofs or similar surfaces. By following these detailed steps-surface preparation, priming, membrane application, heating, sealing, and final inspection-you can achieve a watertight, durable barrier that protects your property for years.
For best results and peace of mind, consider consulting a certified waterproofing professional. Proper application not only ensures durability and performance, but may also be required to meet local building regulations and warranty conditions.
“Torch-on waterproofing is a highly durable and effective solution, especially for flat roofs. It provides long-lasting protection against water damage when done correctly.”
For more expert advice, product datasheets, and quotes, contact our office.
Keep in mind that there are building regulations in place that must be followed through.